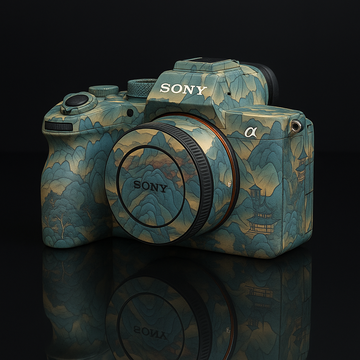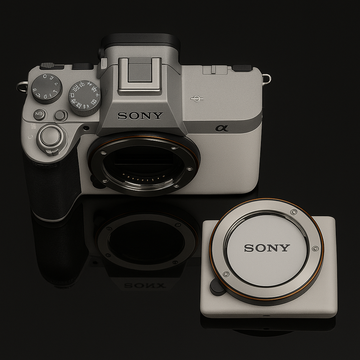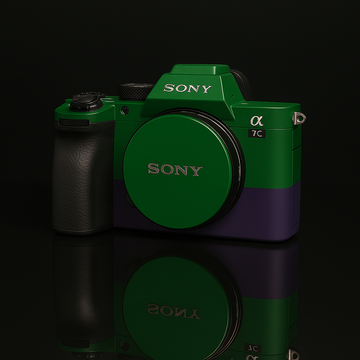
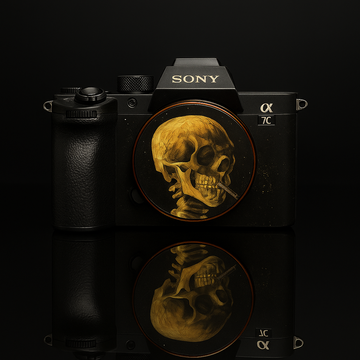

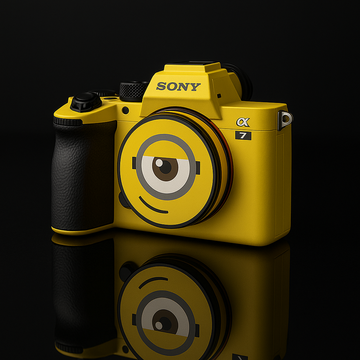
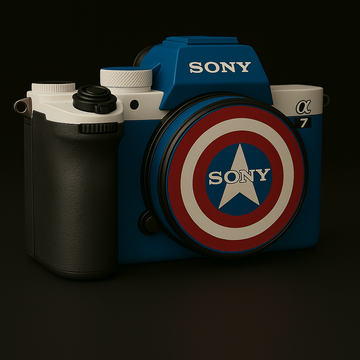

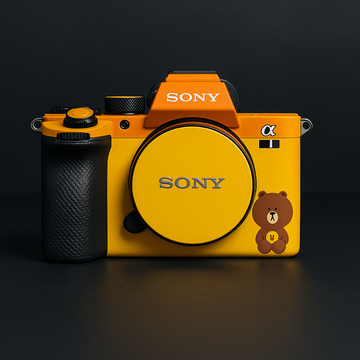
So, you’ve ordered your personalized camera sticker — now it’s time to apply it perfectly.
Proper application is key to achieving a bubble-free, secure finish that lasts. Whether you’re installing a full-body camera skin or a lens decal, follow this simple guide to get the best results.
Why Proper Application Matters
-
Appearance: A well-applied sticker enhances your camera’s look and feels professionally done.
-
Durability: Air bubbles or misaligned edges can cause the sticker to peel or wear faster.
-
Protection: Proper adhesion ensures full surface protection from scratches and dust.
What You’ll Need
-
Clean microfiber cloth
-
Rubbing alcohol or cleaning spray
-
A credit card or sticker squeegee
-
Your new camera sticker
Step-by-Step Camera Sticker Application
Step 1: Clean Your Camera
Use rubbing alcohol and a microfiber cloth to remove any dust, oil, or fingerprints from your camera body. Let it dry completely before proceeding.
Step 2: Test Fit the Sticker
Before peeling off the backing, align each sticker piece with its matching camera section to get a feel for placement.
Step 3: Peel & Align
Start with a small section. Gently peel off the backing and align the edge with your camera surface. Take your time — accuracy matters.
Step 4: Apply & Smooth
Using your fingers or a plastic card, press the sticker onto the surface while smoothing out air bubbles from the center outward.
Step 5: Repeat for All Sections
Continue applying each sticker panel one by one. For lens decals, apply around the barrel in a steady motion.
Step 6: Final Check
Once done, run a soft cloth over the entire sticker surface to ensure full adhesion.
Pro Tips for a Flawless Finish
-
Apply stickers in a dust-free environment with good lighting.
-
If you make a mistake, gently peel and realign before pressing firmly.
-
Don’t rush! Precise placement ensures long-term durability and better appearance.